To add login authentication to a React application, you’ll need to implement several components and use a combination of client-side and server-side technologies. Here’s a step-by-step guide on how to do it:
1. Set up a backend server: You’ll need a server-side application to handle user authentication and store user information securely. You can use any backend technology of your choice, such as Node.js with Express, Django, Ruby on Rails, etc.
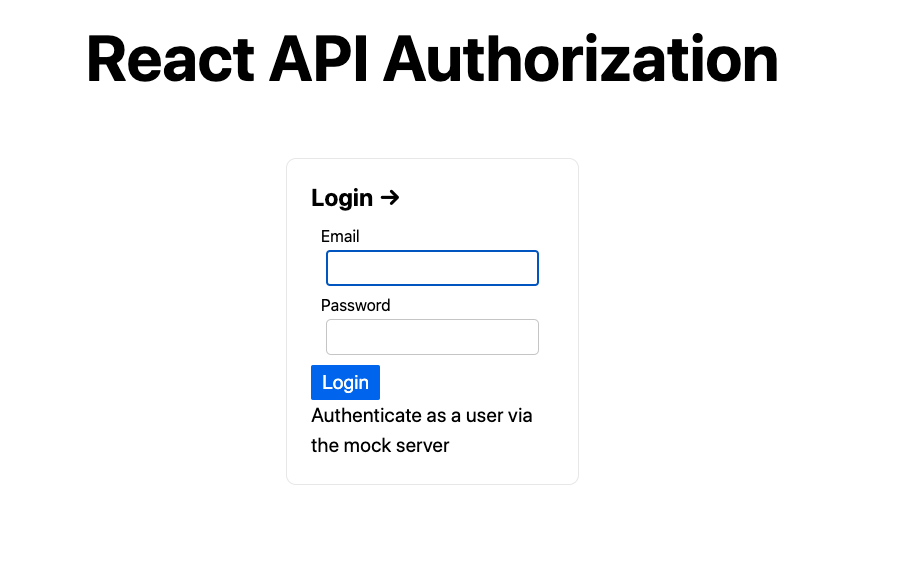
2. Create a login form: In your React application, create a login form component where users can enter their credentials (username/email and password). This component should have state variables to store the form input values.
3. Handle form submission: When the user submits the login form, handle the form submission event and prevent the default form behavior. Then, send an HTTP request to the backend server with the user’s credentials.
4. Authenticate the user on the server: In your backend server, create a route or endpoint that receives the login request. Validate the user’s credentials against your database or any other authentication mechanism you prefer (e.g., hashing and comparing passwords).
5. Generate and return an access token: If the user’s credentials are valid, generate an access token (such as a JSON Web Token or JWT) on the server. This token should contain information about the user, such as their ID or role.
6. Store the access token: In your React application, store the access token securely, preferably in local storage or a cookie. You can use the browser’s built-in `localStorage` API or popular libraries like `redux-persist` to handle token storage.
7. Create a protected route: Implement a higher-order component (HOC) or a custom route component that checks if the user is authenticated before rendering a specific route. If the user is not authenticated, redirect them to the login page.
8. Protect routes: Apply the protected route component from the previous step to the routes in your application that require authentication. Only authenticated users will be able to access those routes.
9. Access user information: To display user-specific information, you can decode the access token on the client-side to retrieve user details like name, email, or profile picture.
10. Handle logout: Implement a logout functionality that removes the access token from storage, effectively logging the user out. This can be triggered by a button click or an API request to invalidate the token on the server.
Remember to handle error cases, provide feedback to the user (e.g., displaying error messages for invalid credentials), and ensure the security of user information throughout the process (e.g., by using secure communication channels and proper password handling on the server).
It’s worth mentioning that there are numerous libraries available to simplify the implementation of authentication in React applications, such as Firebase Authentication, Auth0, or Okta. These services provide pre-built authentication workflows, user management, and additional security features that can save you development time.

